So you've chosen your site and you're ready to make your rain garden happen. How do you do it?

First, before you dig call your local utilities! In Illinois this means calling JULIE at 811. All other states, whatever your service is make sure to find it and call.
Once you've gotten the all-clear that you won't be cutting off the neighborhood's cable and inciting an angry mob, plan out your design similar to that of any new garden. One rule of thumb is that the total size of the rain garden should be 10-30% of the area providing runoff. So if your roof is 1800 square feet, the rain garden should be about 450 square feet.
That's pretty big, but by all means go for it if you have the space. Remember, however, a rain garden that is not made to these specifications will still work just fine.
Now for the Hard Part
Mark out your design with a hose, twine or flour, and if the spot is covered with grass decide how you will remove it. If it's a relatively small space you can smother the grass with black and white newspaper and mulch for a couple weeks and then dig up the sod. Honestly, I've dug up smothered grass and non-smothered grass and I think it's equally difficult.
If you're planning a large rain garden (like that 450-square-foot one) you may want to consider renting a sod cutter or finding some burly helpers to do the sod removal. In the event you can't locate a sod cutter or burly individuals, digging a small rain garden is totally achievable for one person. I am a complete wimp in terms of physical strength, and I managed it for a 6'x4'x1' space. Tailor your plans to what you want to handle. Taking on too much is just not enjoyable, and frustration and physical pain is not what this is about.

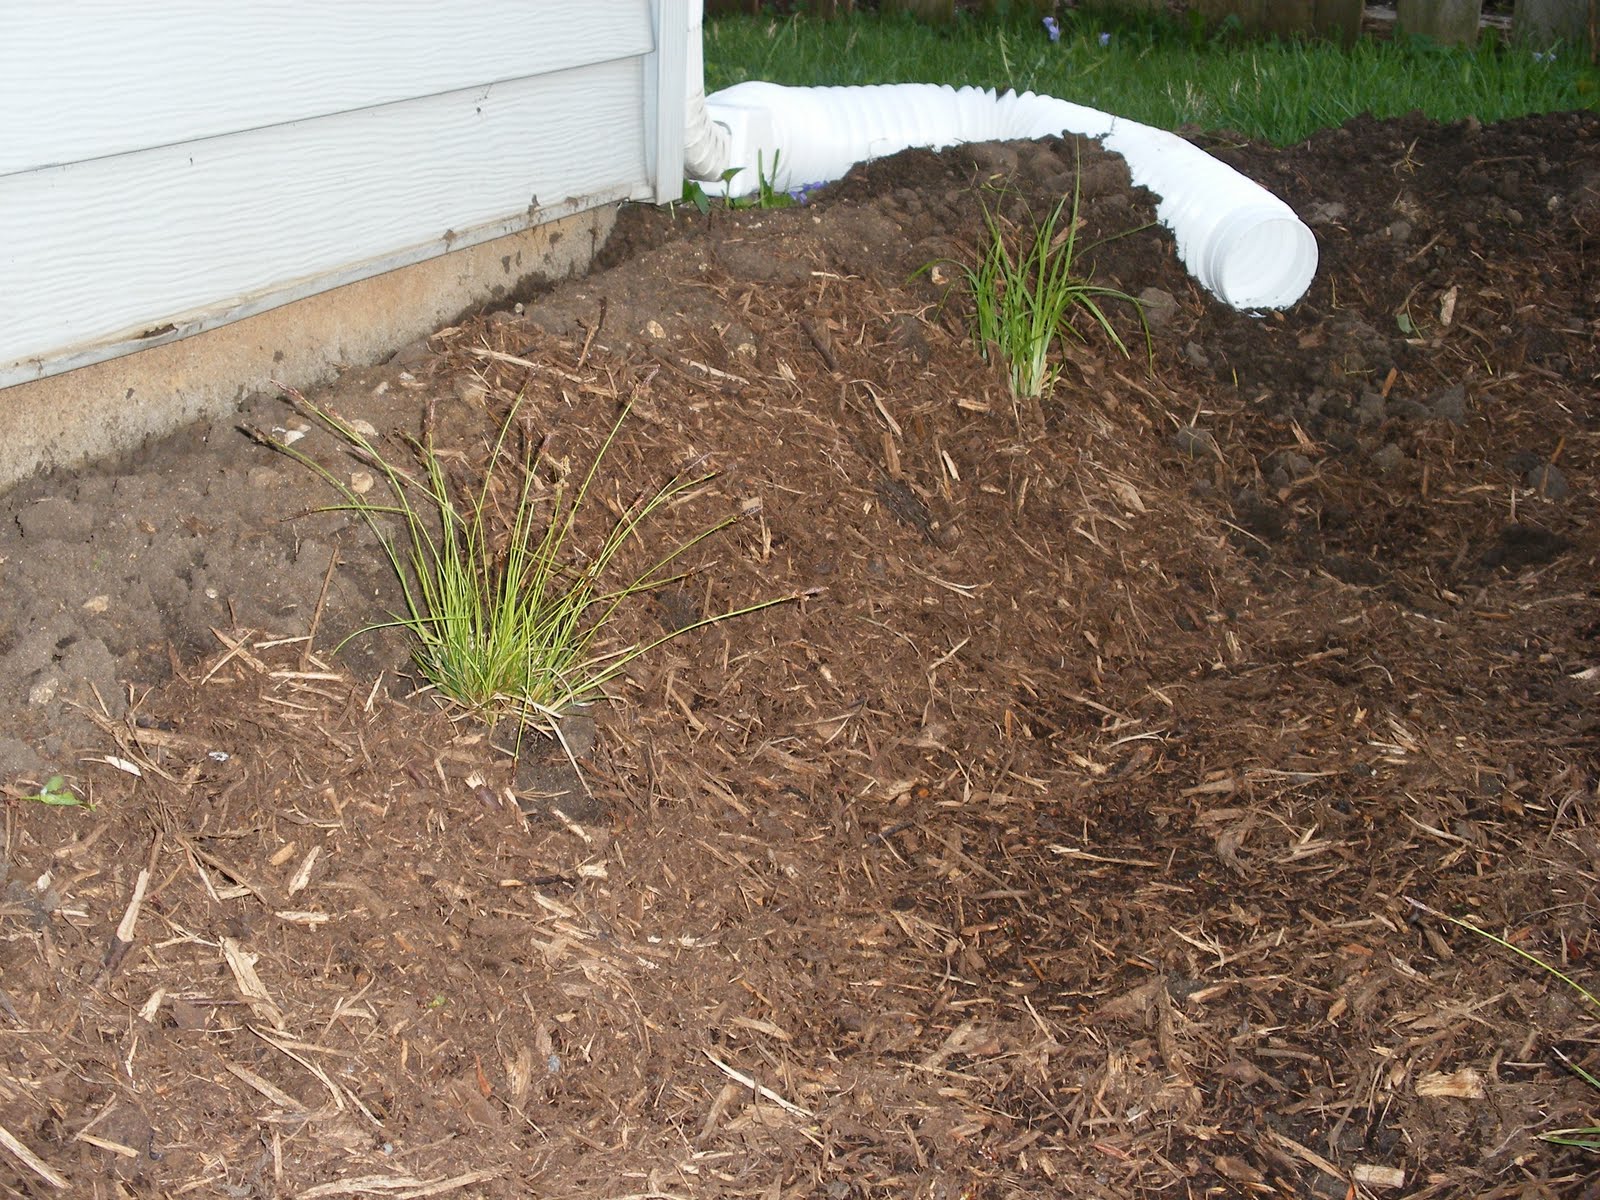
A look at the ugly but necessary process of digging (I was interrupted by rain before this picture).
How deep to dig? Plan on 6-12" deep. I have seen recommendations for digging a rain garden only 3" deep, and if it's an extended bed this makes sense. Sure, a 15'-long rain garden at 1' deep would certainly absorb a large amount of water, but it also means you're installing a full-on pond in your yard.
Conversely, a rain garden that is shorter and narrower yet still 8-12" deep will effectively absorb a lot of water without taking up so much space. The choice is really up to you depending on your site characteristics and the amount of real estate you want to dedicate.
As you're digging, take some of the excavated dirt and pile it around the edges of the rain garden to make a berm. This will help prevent overflow. You can leave a space for outflow if you're concerned the rain garden will be very full. Just be sure the slope of the berm is gentle, around 45 degrees or even more gradual. My berm is steep and it has resulted in mulch erosion. It's not the end of the world but it's messy and could have been avoided.
To increase absorption, you can amend your soil with sand and/or compost. Some guidelines are 30% soil, 30% sand and 30% compost (yes that only totals 90% but you get the idea). Again, I added nothing to my clay soil and it absorbs just fine. Don't feel you must amend the soil unless the drainage is very poor and could become a problem with mosquitoes (see the previous post for info about drainage needs). You shouldn't need to enrich the soil for the plants because they'll be tough ones that can handle drastic changes in moisture (more on that in another post). If you are amending the soil, do it once you've dug the garden so you can get it all worked in before planting.
Getting the Water There
Directing a downspout into the rain garden is ideal. There are a few ways to do this: One is to get a simple plastic or metal downspout extension and aim it towards the rain garden. I prefer plastic because it can be lengthened, shortened and/or curved to fit the needs of the site.
You can also bury the extension if it's more than a few feet and might look unsightly. Just dig a trench for it and throw the dirt back on top, making sure that the extension reaches the rain garden itself. Voila!
If the rain garden is really far from a downspout or the garden is long, consider adding a little pathway of river rocks from the downspout into the garden. It's a little more labor with moving some rocks, but they look pretty and will convey water at a distance that might not be feasible with a downspout extension. If the burly helpers from the previous step are still in the picture, have them haul the rocks.
So, to recap:
1. Call your local utilities.
2. Mark out the garden shape and remove the grass.
3. Dig approximately 6" deep, less if the garden is large, more if it's small.
4. Use excavated dirt to make a gently sloping berm.
5. Add sand and/or compost if needed to increase absorption.
6. Aim a downspout into or towards the garden.
Next up...the fun part! Choosing rain garden plants!
For further reading: Here is a helpful page on rain garden construction from the Low Impact Development Center.
2 comments:
What a great post! Thanks so much!
Wonderful tips, Rose--you could have presented the rain garden workshop I attended! I'm glad you mentioned calling JULIE. I had never thought about that when digging up a new garden area, but when I started planting some shrubs in front of the house last year I hit the cable line--uh-oh! I realized then why it's so important to call them before even a simple digging project. My husband wouldn't have been too happy if he'd missed his ballgame that evening:)
Post a Comment